 Ashutosh Nayak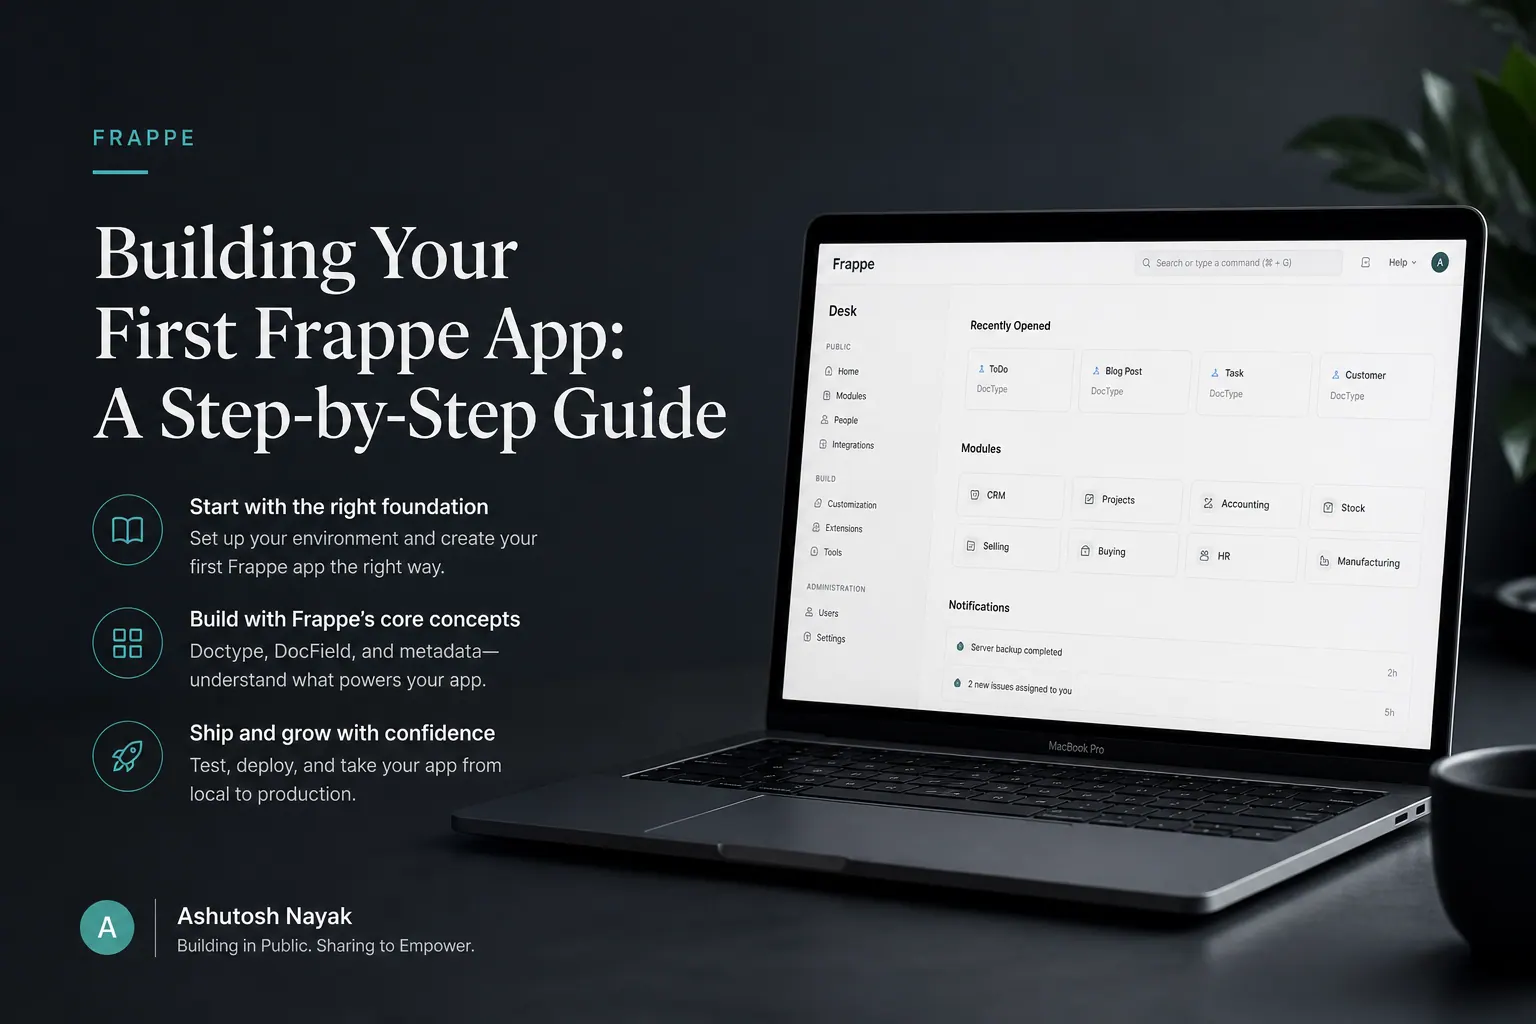
Introduction to the Frappe Framework
The Frappe Framework is a powerful, open-source, full-stack web framework built on Python and MariaDB. It's the foundation for ERPNext, a leading open-source ERP system, but it's also incredibly versatile for building custom business applications of all kinds. Whether you're looking to extend ERPNext's functionality or build a standalone application, Frappe offers a robust set of tools and conventions that accelerate development. This guide will walk you through the process of setting up your development environment and creating your very first custom Frappe application.
Setting Up Your Development Environment
Before we can start building, we need to ensure our development environment is ready. Frappe has specific system requirements. The easiest way to get started is by using the frappe-bench tool, which manages multiple Frappe sites and applications.
1. Install Bench:
Open your terminal or command prompt and run the following command to install bench:
pip install frappe-bench2. Create a New Bench Directory:
Navigate to the directory where you want to store your Frappe projects and create a new bench:
bench init frappe-apps
cd frappe-apps
This command initializes a new frappe-apps directory containing the Frappe framework and necessary components.
3. Create a New Site:
Now, let's create a new site. You'll need to provide a site name (e.g., mycompany.com) and a root user's password.
bench new-site mycompany.comFollow the prompts to set your database root password and create the administrator user.
4. Start the Development Server:
To make sure everything is working, start the development server:
bench startYou should now be able to access your Frappe instance by navigating to http://localhost:8000 in your web browser. Log in with the administrator credentials you set up.
Creating Your First Custom App
With our environment set up, it's time to create our custom application. Frappe uses a modular structure for apps. We'll create a simple app to manage 'Books'.
1. Create a New App:
Use the bench command to create a new app. We'll call our app library.
bench new-app library ../appsThis command creates a new directory structure for your app within the apps folder inside your bench.
2. Install the App on Your Site:
To make your app available on your site, you need to install it.
bench --site mycompany.com install-app libraryThis command links your new app to your site configuration.
3. Migrate Database Changes:
After installing a new app, it's crucial to migrate any database changes.
bench migrate4. Restart the Development Server:
If your server wasn't already running, start it. If it was, you might need to restart it for the new app to be fully recognized.
bench restartDefining Doctype(s)
In Frappe, a DocType is the definition of a type of document or data record. It's analogous to a table in a relational database, but with much more functionality. Let's define a Book doctype.
1. Accessing the UI:
Go back to your Frappe instance in the browser (http://localhost:8000). You can create doctypes directly through the UI.
2. Create a New Doctype:
Search for 'Doctype' in the Awesome Bar and click on 'New Doctype'.
- Name:
Book - Module: Select
Library(this is the module name of your app). - Is Single: Unchecked (this means we'll have multiple book records).
- Track Changes: Checked (useful for auditing).
3. Adding Fields:
Now, let's add fields to our Book doctype. Click on the 'Add Row' button in the 'Fields' section.
- Row 1:
- Label:
Title - Fieldname:
title - Field Type:
Data - Mandatory: Checked
- Label:
- Row 2:
- Label:
Author - Fieldname:
author - Field Type:
Data - Mandatory: Checked
- Label:
- Row 3:
- Label:
ISBN - Fieldname:
isbn - Field Type:
Data - Unique: Checked (ensures no duplicate ISBNs)
- Label:
- Row 4:
- Label:
Published Date - Fieldname:
published_date - Field Type:
Date
- Label:
- Row 5:
- Label:
Genre - Fieldname:
genre - Field Type:
Select - Options:
Fiction Non-Fiction Science Fiction Mystery Fantasy
- Label:
4. Set Permissions:
Navigate to the 'Permissions' tab. Click 'Add Row' and grant 'System Manager' role 'Read', 'Write', 'Create', 'Delete', and 'Submit' permissions. This ensures you can manage your book records.
5. Save the Doctype:
Click 'Save'. You might be prompted to run bench migrate again. If so, run it in your terminal and restart the bench if necessary.
Creating a Menu Item
To easily access your new Book doctype, we need to add it to the Frappe menu.
1. Create a Module Definition:
Open the library/library/modules.txt file in your app's directory. If it doesn't exist, create it. Add the following line:
Library
2. Create a Desktop Icon (Optional but Recommended):
Create a library/library/www/library.png file (you can use a simple placeholder image). This icon will appear on the desktop.
3. Create a Workspace:
Search for 'Workspace' in the Awesome Bar and click 'New Workspace'.
- Name:
Library Workspace - Module:
Library - Icon:
icon-book(or any other Font Awesome icon) - Title:
My Library
Under the 'On Load Do' section, add a row:
- Action:
Setup Standard DocTypes
Under 'Links', add a row:
- Link DocType:
Book - Is Group: Checked
- Add Button: Checked
4. Update hooks.py:
Open library/library/hooks.py. Add the following line to register your workspace:
`app_include_web_js` = "library.js"
`web_include_css` = "library.css"
`framework_routes` = [
    {
        "page_name": "library-workspace",
        "script": "apps/library/library/www/library.js"
    }
]
`website_route_rules` = [
    {
        "from_route": "library",
        "to_route": "library-workspace"
    }
]
`module_web_routes` = [
    {
        "module_name": "Library",
        "page_name": "library-workspace",
        "route": "library"
    }
]
`startup_hook` = "library.startup.run"

# Add this line to include your app's doctypes in the menu
`doc_events` = {
    "*": {
        "before_save": "library.utils.before_save_hook",
        "after_insert": "library.utils.after_insert_hook"
    }
}
`

*Correction*: The `hooks.py` entries above are a bit too complex for a basic setup. Let's simplify for just getting the menu item working.

Open `library/library/hooks.py` and add:

```python

app_name = "library"

# To add a custom desktop icon
#`desktop_icon` = [
#    {
#        "module_name": "Library",
#        "icon": "icon-book",
#        "link": "library-workspace"
#    }
#]

# To add your app to the sidebar menu
`menu_items` = [
    {
        "route": "List/Book/List",
        "label": "Books",
        "icon": "icon-book",
        "module": "Library"
    }
]

`

**5. Migrate and Restart:**

Run `bench migrate` and `bench restart` again.

## Accessing Your App

Refresh your browser. You should now see a 'Library' module in the sidebar menu. Clicking on it will take you to the list view for 'Books', where you can create, view, and manage your book records.

## Next Steps

This is just the beginning. You've successfully created a custom Frappe app, defined a doctype, and added it to the menu. From here, you can:

*   **Add more fields** to the `Book` doctype (e.g., descriptions, cover images).
*   **Create child tables** for more complex relationships (e.g., authors and their books).
*   **Write custom Python scripts** for business logic.
*   **Develop custom forms and reports**.
*   **Integrate with other Frappe apps** or external services.

The Frappe Framework is incredibly flexible. By understanding these foundational steps, you're well on your way to building powerful, tailored business applications.Related articles

Building Smarter Workflows with Frappe & Python
Learn how to integrate Python scripts into Frappe to automate tasks, enhance data processing, and build more intelligent ERPNext workflows.
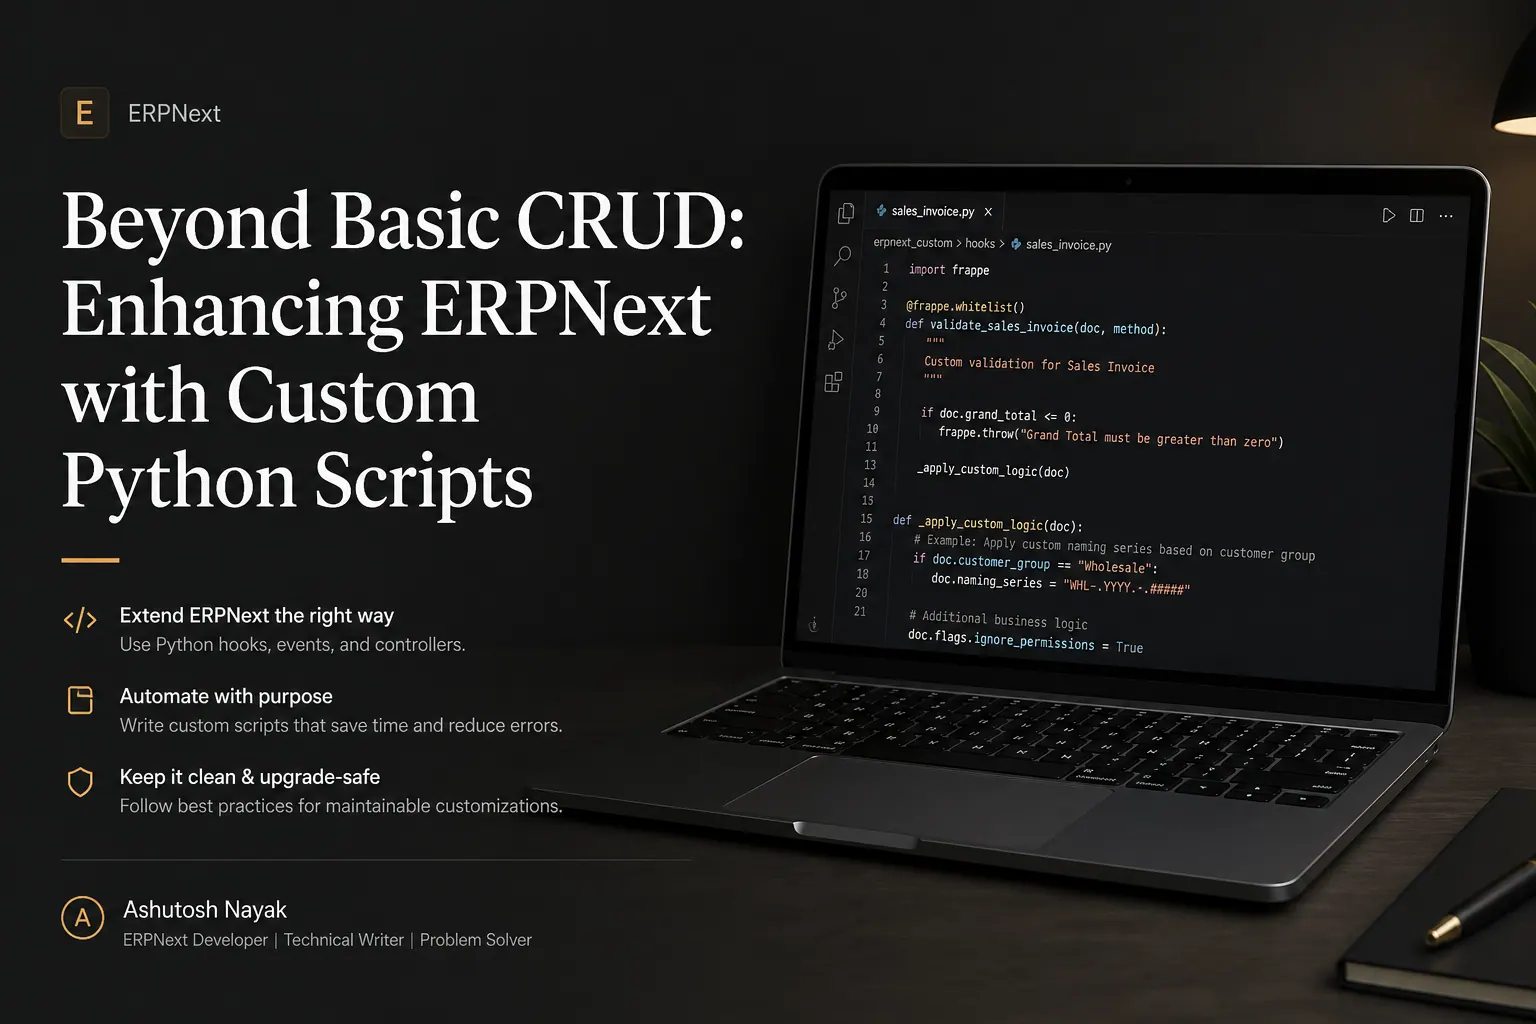
Beyond Basic CRUD: Enhancing ERPNext with Custom Python Scripts
Learn how to go beyond standard ERPNext features by writing custom Python scripts to automate tasks, integrate systems, and tailor your ERP to unique business needs.
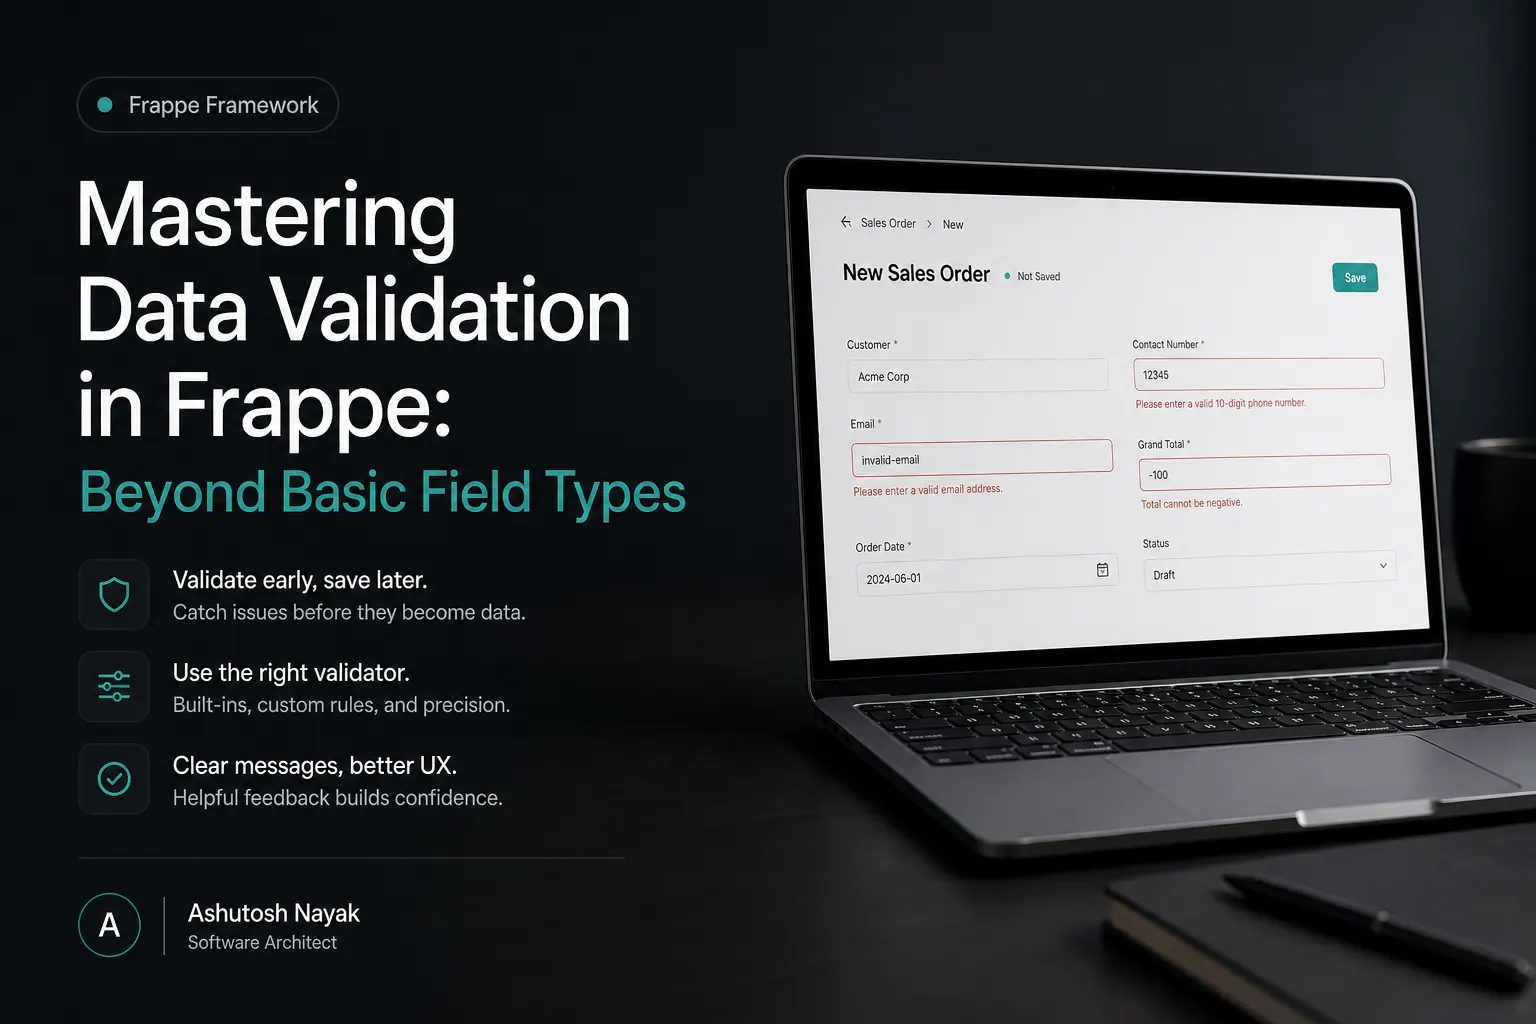
Mastering Data Validation in Frappe: Beyond Basic Field Types
Learn advanced data validation techniques in Frappe/ERPNext to ensure data integrity and build robust applications. Go beyond simple field types.
Get new articles in your inbox
Occasional writing on AI, ERP and data analytics — no spam, unsubscribe any time.